Blog
How to draw a maze?
how to draw a maze?
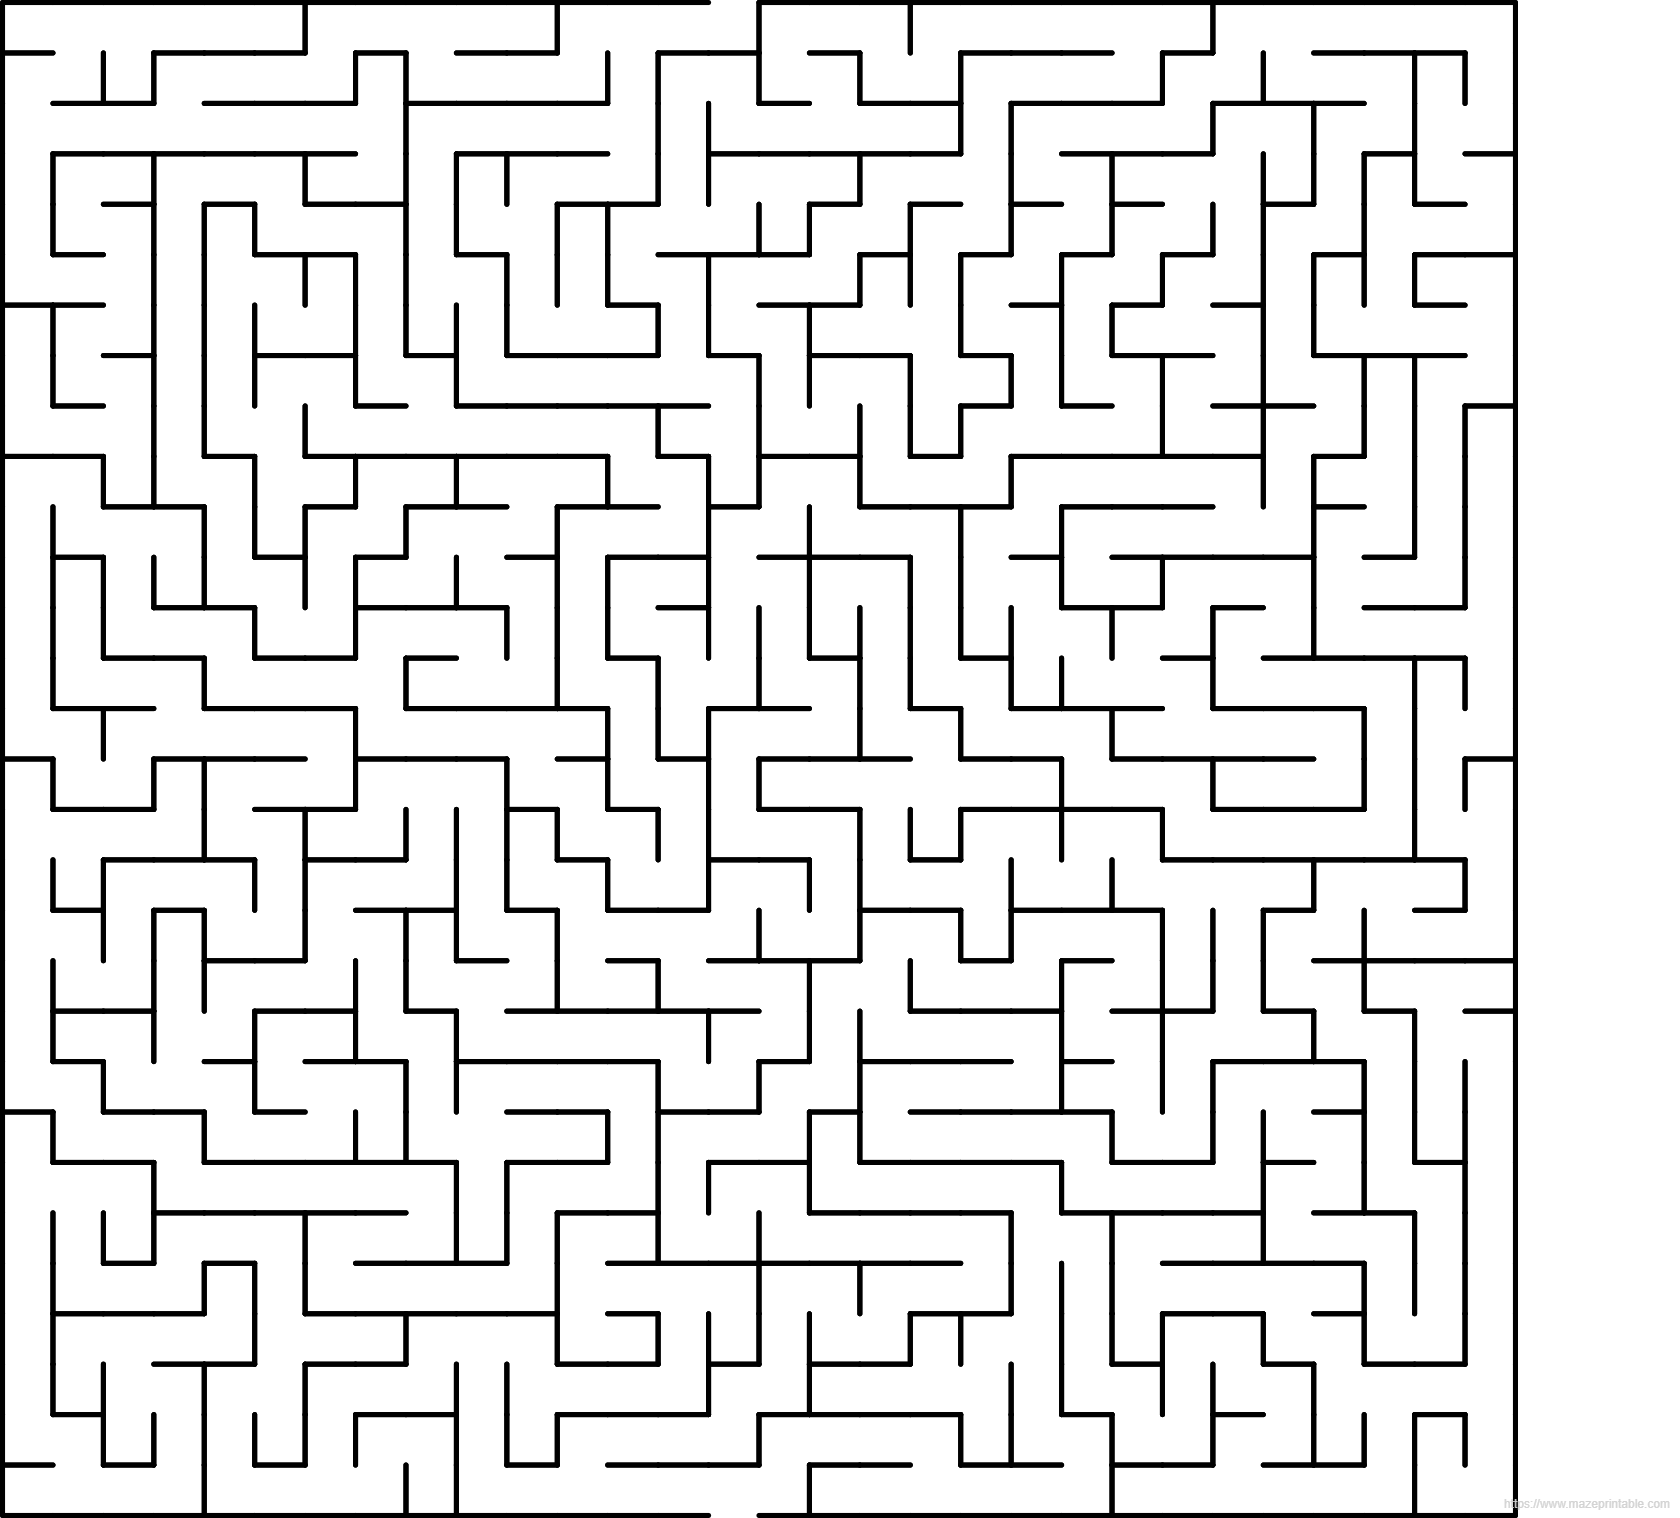
Mazes are a fun and challenging way to test your problem-solving skills and creativity. Whether you are creating a maze for a school project or just for fun, drawing a maze can be a rewarding activity. Here are some steps to help you create your own maze:
1. Start by deciding on the size and shape of your maze. You can draw a simple square or rectangle maze, or get creative with different shapes like a circle or a triangle. Consider how difficult you want your maze to be and plan accordingly.
2. Draw the outer walls of your maze first. This will help you establish the boundaries of your maze and give you a clear starting point. You can use a ruler to make straight lines or freehand it for a more organic look.
3. Next, start adding the internal walls to create the pathways of your maze. You can make the walls straight or curved, depending on the complexity you want to achieve. Make sure to leave enough space for the pathways to be navigated through.
4. Add dead ends and loops to make the maze more challenging. Dead ends are paths that lead to a dead end, forcing the player to backtrack and find another way out. Loops are paths that circle back to a previous point, creating confusion and adding to the difficulty of the maze.
5. Once you have completed the layout of your maze, add any additional elements you want to include, such as obstacles or checkpoints. These can add an extra layer of challenge and make the maze more engaging for the player.
6. Finally, go over your maze and make any necessary adjustments to ensure it is clear and easy to follow. You can add arrows or numbers to help guide the player through the maze, or color code different paths to make it easier to navigate.
Drawing a maze can be a fun and creative activity that challenges your problem-solving skills. By following these steps, you can create your own unique maze that will provide hours of entertainment for yourself and others. So grab a pencil and paper, and start drawing your maze today!

