Blog
How to draw a maze easy?
how to draw a maze easy?
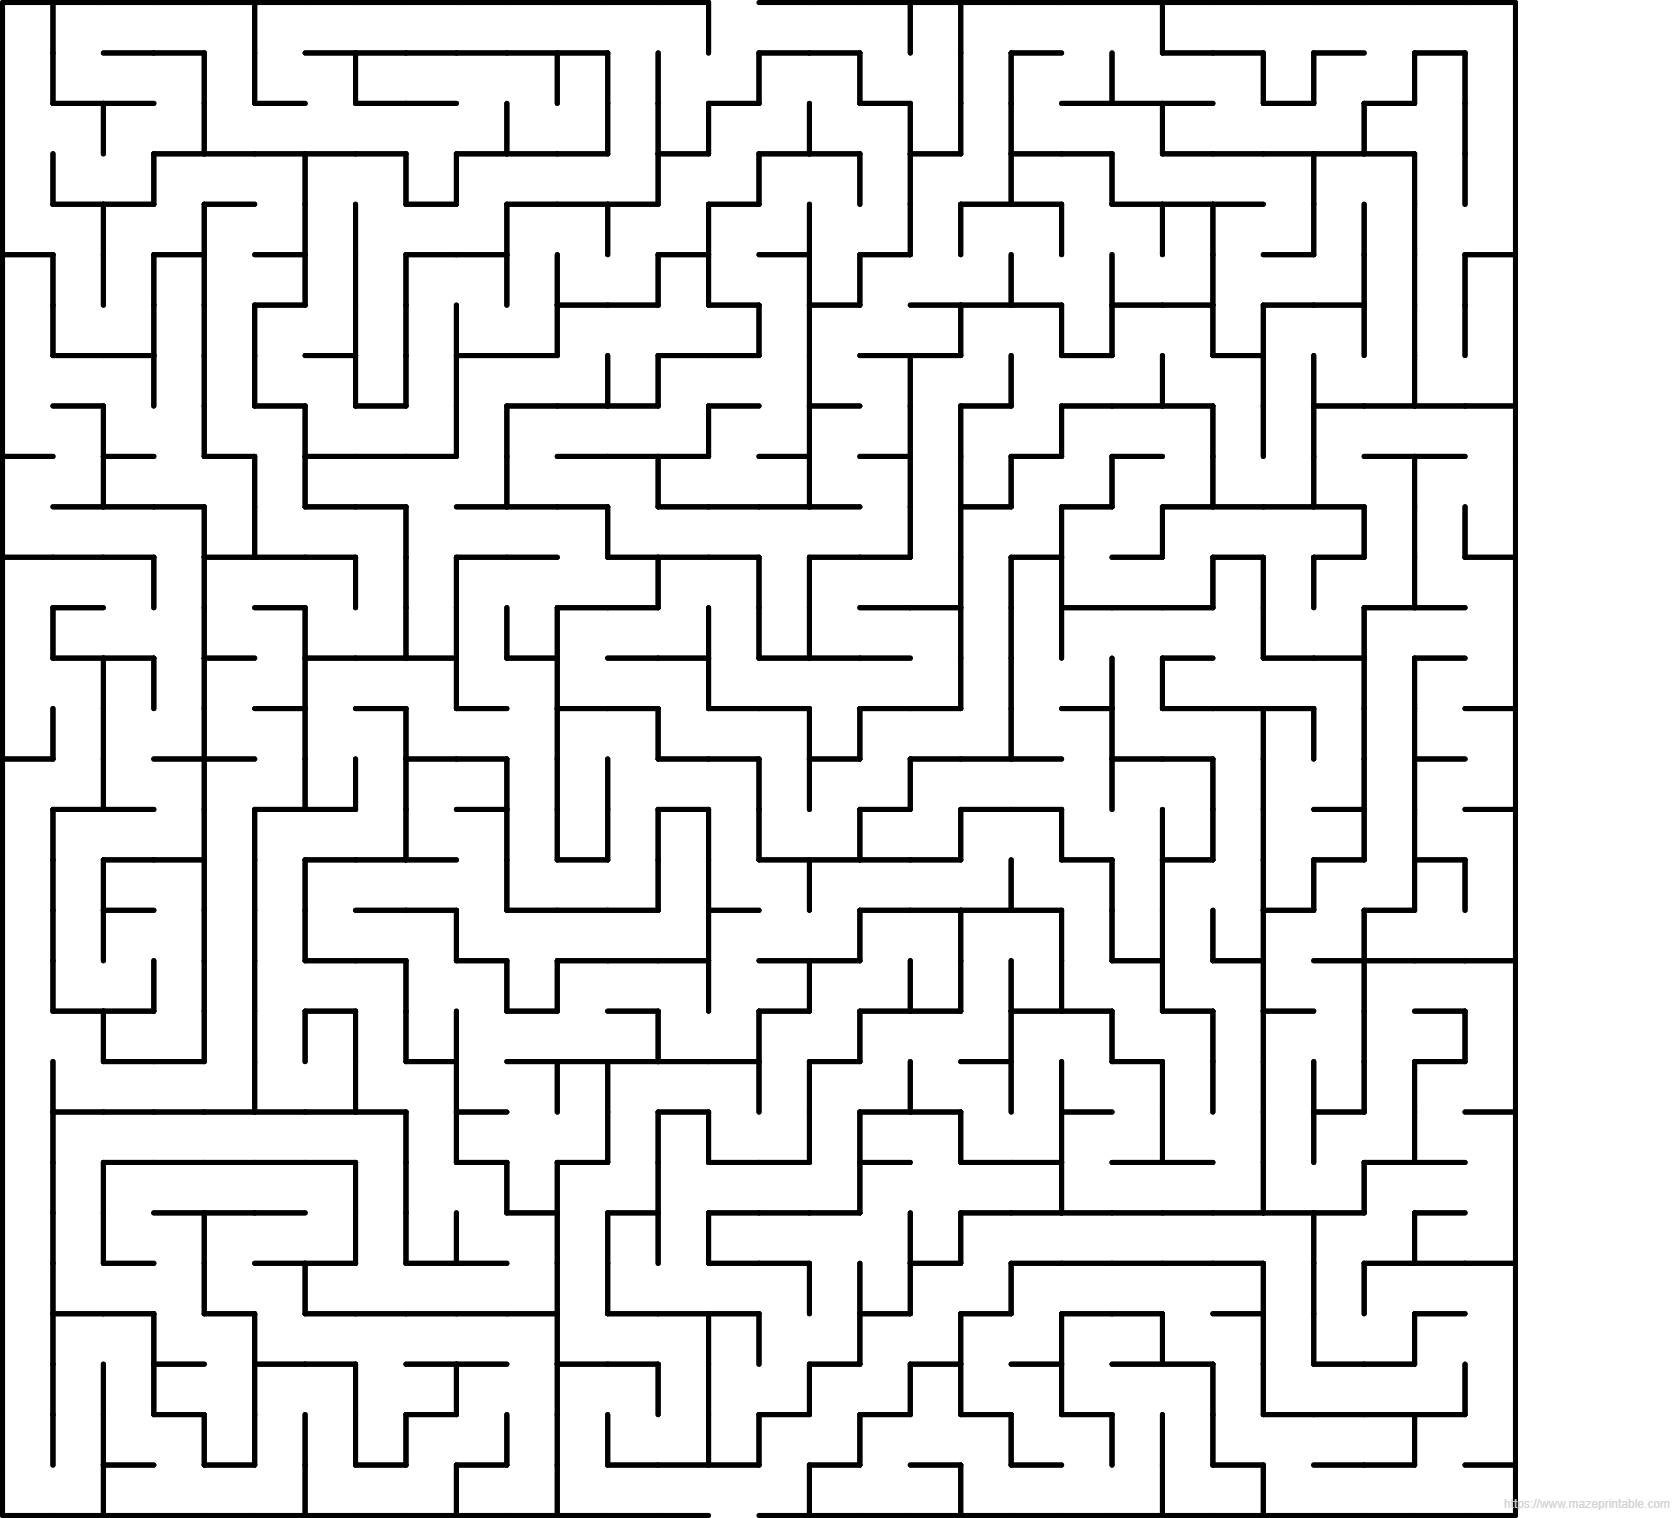
Mazes have been a popular form of puzzle for centuries, challenging individuals to find their way through a complex series of pathways and dead ends. While creating a maze may seem like a daunting task, it can actually be quite simple with the right approach. Here are some easy steps to help you draw your own maze.
1. Start with a grid: Begin by drawing a grid on a piece of paper. You can use a ruler to create evenly spaced lines or simply freehand it for a more organic look. The size of the grid is up to you, but larger grids will result in a more intricate maze.
2. Create the pathways: Using a pencil, start drawing a series of interconnected pathways throughout the grid. These pathways can be straight lines, curves, or a combination of both. Be sure to leave dead ends and loops to add complexity to your maze.
3. Add walls: Once you have your pathways in place, it’s time to add walls to block off certain areas. Walls can be drawn as solid lines or shaded in to differentiate them from the pathways. Make sure there are multiple ways to navigate through the maze to keep it challenging.
4. Add a start and finish point: To complete your maze, add a designated start and finish point. This will give the solver a clear goal to work towards. You can also add additional elements such as checkpoints or hidden objects to make the maze even more engaging.
5. Test it out: Once your maze is complete, it’s time to test it out to ensure it’s solvable. Try navigating through the pathways yourself or have a friend give it a try. If the maze is too difficult or impossible to solve, go back and make adjustments until it’s just right.
Drawing a maze can be a fun and rewarding creative exercise. By following these easy steps, you can create your own maze in no time. So grab a pencil and paper and start drawing your maze today!

